Introduction: From Intimidation to Creation
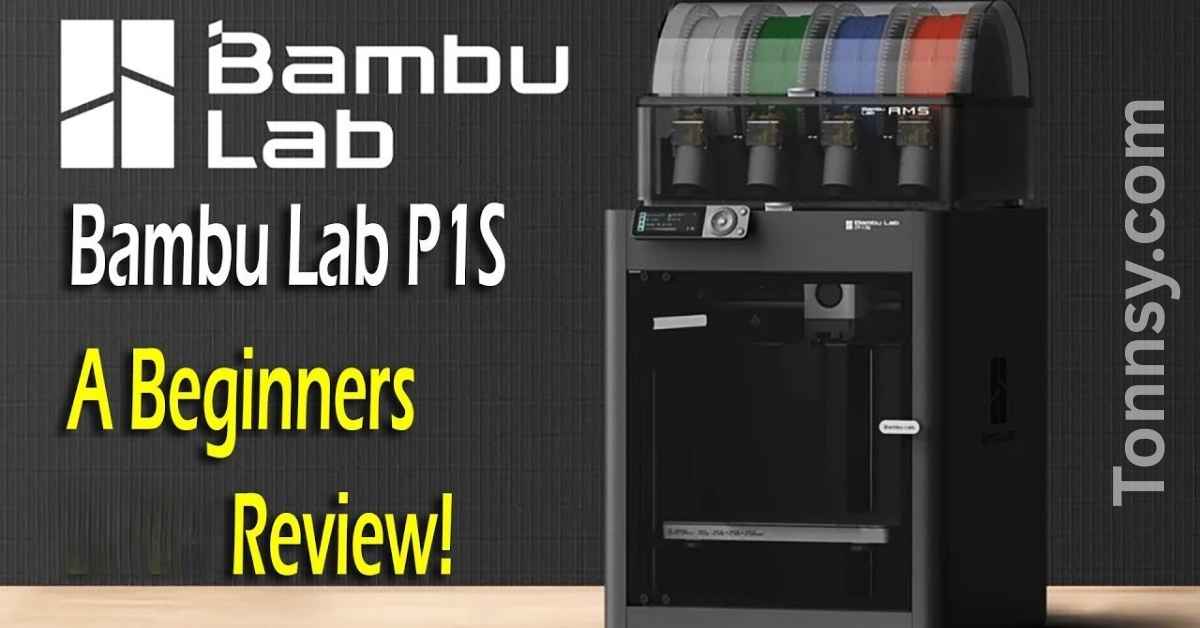
Our in-depth Bambu Lab P1S review covers setup, print quality, noise, and the AMS system. Learn the pros, cons, and vital beginner tips from 6 months of hands-on experience.
For years, 3D printing existed on the periphery of my interests—a fascinating technology that always felt just out of reach. It seemed like a hobby reserved for tinkerers, engineers, and those with a deep understanding of complex hardware. The fear of endless calibration, failed prints, and technical jargon was a significant barrier to entry.
That was, until six months ago. I took the plunge, driven by a desire to bring my digital designs into the physical world. After extensive research, I landed on the Bambu Lab P1S as my very first 3D printer. This article is the culmination of my first half-year in the hobby. It’s not a review from an expert with a garage full of printers, but a genuine account from a beginner, for beginners. I’ll cover why I chose the P1S, my unboxing and setup experience, the steep learning curve, the stunning results, the few issues I encountered, and the essential tips I wish I’d known on day one.
Why I Chose the Bambu Lab P1S Over the Competition
My research process was defined by one primary goal: to focus on creation, not calibration. I knew that if my first printer required constant tweaking and troubleshooting, my interest would quickly wane. I wanted a machine that worked reliably out of the box.
The Allure of “It Just Works”
Bambu Lab printers kept appearing in my social media feeds, often through targeted ads or influencer content. The message was consistent: these machines were fast, reliable, and incredibly easy to use. The promise of a 15-minute setup from box to first print was a powerful selling point. Furthermore, their signature Automatic Material System (AMS) unlocked multi-color printing from day one, a feature that truly excited me as a designer.
Navigating Bambu Lab’s Printer Lineup
Bambu Lab offers three core series of printers:
- X1 Series (Flagship): The X1-Carbon is the top-of-the-line model, featuring a hardened steel nozzle, LiDAR for automatic flow calibration, a faster processor, and a higher-resolution touchscreen.
- P1 Series (Mid-Tier): This includes the P1P (open frame) and the P1S (enclosed). They share the same core printing engine but with a less powerful processor and no LiDAR.
- A1 Series (Entry-Level): A newer, more affordable bed-slinger model with a unique AMS Lite system.
For me, the P1S was the perfect Goldilocks choice. The enclosed design was better for temperature stability (a must if I ever ventured beyond PLA) and safety. It was fully compatible with the multi-color AMS. While it lacked the LiDAR of the X1C, I learned that for printing PLA—the material I planned to start with—manual calibration would be more than sufficient. The significant price difference made the P1S an easy decision, especially when I snagged it during an anniversary sale.
Unboxing and First Impressions: The 15-Minute Promise
Setup and Hardware
The unboxing experience was streamlined and professional. Every component was neatly packed and protected. True to the reviews, I had the printer on my desk, powered on, and connected to Wi-Fi in under 15 minutes. The initial setup is guided by the Bambu Handy app, which walks you through each step, from installing the build plate to loading filament.
The printer itself felt incredibly solid and well-built. It’s an industrial-grade tool shrunk down to a desktop size. One pleasant surprise was its physical footprint; while substantial, it was more compact than I had imagined, easily fitting on a standard desk or shelf.
| Aspect | First Impression |
|---|---|
| Build Quality | Excellent. Durable metal and plastic construction. Feels like a premium product. |
| Setup Time | Astonishingly fast and simple. ~15 minutes from unboxing to first print. |
| Footprint | Manageable. Larger than some bed-slingers but a space-saver for a CoreXY machine. |
| Initial Software | The Bambu Handy app makes initial setup a breeze. Connecting to Wi-Fi was seamless. |
The All-Important First Print
Every Bambu Lab printer includes a pre-sliced test file on its internal storage—a cute Benchy boat or a scraper tool. I selected the file directly from the printer’s interface and hit “print.” What happened next was nothing short of magic.
The printer sprang to life with a quiet hum. The print head moved with mesmerizing speed and precision, laying down layer after layer at a pace I had only seen in sped-up YouTube videos. Within 20 minutes, I was holding a flawless, high-quality print. There was no bed leveling, no Z-offset adjustment, no tweaking of temperatures. It. Just. Worked. This first experience was a massive confidence booster and immediately validated my purchase decision.
The Learning Curve: Software, Slicing, and Design
While the hardware was effortless, the real journey of learning began with the software and design aspects of the workflow.
Mastering the Slicer: Bambu Studio
Bambu Studio, the proprietary slicing software based on Ultimaker Cura, is the brain of the operation. It’s where you prepare your 3D models (STL files) for printing. My early learning focused on:
- Basic Settings: Learning what layer height, infill density, and wall thickness do to a print’s strength, detail, and duration.
- Support Structures: Understanding when and how to use supports for models with overhangs.
- The AMS Hub: Figuring out how to assign different filaments to different parts of a model for multi-color printing. The software makes this surprisingly intuitive through a painting-like interface.
Bridging the Design Gap with Blender
My primary 3D software is Blender, a powerful tool for artistic modeling but not a traditional CAD program. I faced a new challenge: translating my digital sculptures into manifold (watertight) models ready for printing.
Key lessons learned:
- Scale and Units: Ensuring Blender’s unit settings matched the slicer to avoid printing a 100mm tall model at 100 meters!
- Model Integrity: Learning to use Blender’s 3D print toolbox add-on to check for non-manifold geometry, inverted normals, and holes that would cause print failures.
- Optimization: Decimating high-poly models to make them practical for FDM printing without losing crucial detail.
HueForge: The Gateway to Advanced Settings
A significant portion of my learning came from using HueForge, a specialized software for creating stunning, painted-like images using just layers of different colored filament. While incredibly rewarding, achieving consistent quality was challenging.
My countless failed HueForge prints became inadvertent but invaluable lessons. They forced me to deep-dive into advanced slicer settings:
- Nozzle Temperature: How slight variations can affect layer adhesion and color vibrancy.
- Print Speed: Finding the balance between speed and quality for fine details.
- Infill Patterns and Density: How the inside of a print affects the top surface finish on a HueForge image.
This trial-by-fire, while frustrating at times, gave me a profound understanding of how slicer settings directly impact the final product, knowledge that benefits all my prints.
The Pros and Cons of the Bambu Lab P1S After 6 Months
After half a year of near-daily printing, my experience has been overwhelmingly positive. However, no product is perfect. Here’s a balanced breakdown.
The Pros: What Makes It Shine
- Unmatched Out-of-Box Experience: It is the easiest printer on the market to get started with. The barrier to entry is virtually zero.
- Blazing Speed: The CoreXY motion system and high flow hotend allow it to print 3-5 times faster than most traditional printers without sacrificing quality.
- Exceptional Print Quality: The prints it produces are consistently precise, with excellent layer adhesion and fine details. It rivals printers twice its price.
- The AMS Ecosystem: Multi-material printing is seamlessly integrated. The ability to print supports in a soluble material (like PETG for PLA models) or create vibrant multi-color objects is a game-changer.
- Remote Monitoring & Control: The built-in camera and cloud connectivity via the Bambu Handy app are superb. You can start, stop, and monitor prints from anywhere, and receive notifications upon completion or failure.
- Active Community & Support: Bambu Lab has a massive and active user community. Solutions to almost any problem can be found quickly on Reddit, Discord, or the official wiki.
The Cons and Considerations
- The “Walled Garden”: The printer and AMS are designed to work best with Bambu Lab’s own filaments (RFID spool recognition). While it works with third-party filaments, you lose some automation.
- Noise Levels: This is a fast printer, and fast printers are loud. The fans and motors produce a significant hum. It’s not suitable for a quiet living space or bedroom if you’re in the same room.
- VOC Emissions: All FDM printers emit ultrafine particles (UFPs) and volatile organic compounds (VOCs), especially when printing materials like ABS. The P1S’s enclosure helps contain them, but proper ventilation is non-negotiable. My printer is in a closet, and I ensure the room is well-ventilated during and after printing.
- Proprietary Parts: Some components are specific to Bambu Lab. While common wear parts (nozzles, fans) are readily available, long-term repairability might be more complex than with a fully open-source printer.
| Category | Pro | Con / Consideration |
|---|---|---|
| Ease of Use | Unbeatable out-of-box experience. Truly plug-and-play. | Can feel like a “walled garden” ecosystem. |
| Performance | Extremely fast and produces exceptionally high-quality prints. | Noise levels are high due to the speed. |
| Features | AMS multi-color system is seamlessly integrated. Cloud printing works flawlessly. | Proprietary parts can be a concern for long-term tinkering. |
| Safety | Enclosed design contains heat and particulates. | Requires active ventilation to manage VOC and UFP emissions. |
A Beginner’s Guide: Essential Tips I Learned the Hard Way
- Location and Ventilation are Paramount: Do not underestimate emissions. Place your printer in a well-ventilated area—a garage, a workshop, or a room with an open window. Consider an air purifier with a HEPA filter nearby. This is the most critical safety tip.
- Start with PLA: It is the easiest, least smelly, and lowest-temperature filament to print with. Master it before even considering ABS, PETG, or others.
- You Will Need Isopropyl Alcohol (IPA): Clean your build plate with IPA before every print. Oils from your fingers are the number one cause of prints failing to adhere.
- Embrace the Learning Process: You will have failures. A print will warp, spaghetti will happen, and supports will fuse to your model. Each failure is a lesson in understanding the technology better.
- Bambu Filament Refills Require Care: When loading a refill onto a reusable spool, DO NOT remove the tape holding the filament coil together until it is securely placed inside the spool. If you do, it will tangle and cause endless AMS feed errors. This small mistake cost me hours of frustration.
- The Community is Your Best Friend: Websites like Reddit (r/BambuLab), the Bambu Lab Wiki, and various Discord servers are invaluable resources. Before you panic about an error message, search for it. Someone has almost certainly already solved it.
Conclusion: Is the Bambu Lab P1S the Best Beginner 3D Printer?
Absolutely, yes.
The Bambu Lab P1S has completely redefined what a beginner can expect from a 3D printer. It removes the historically steep technical barriers and lets you focus on the joy of creation. It is reliable, capable, and powerful enough to grow with you as your skills advance.
My journey from an intimidated novice to someone confidently designing and printing complex, multi-color objects in just six months is a testament to how good this machine is. While I encountered minor issues like a persistent resonance warning on a second unit (which didn’t affect print quality) and the AMS assembly hiccup, they were quickly resolved and paled in comparison to the sheer reliability and performance on offer.
If you are looking for a 3D printer that delivers professional results with a beginner-friendly workflow, the Bambu Lab P1S is, without a doubt, the best place to start. It has kept me engaged, excited, and constantly imagining what to create next.
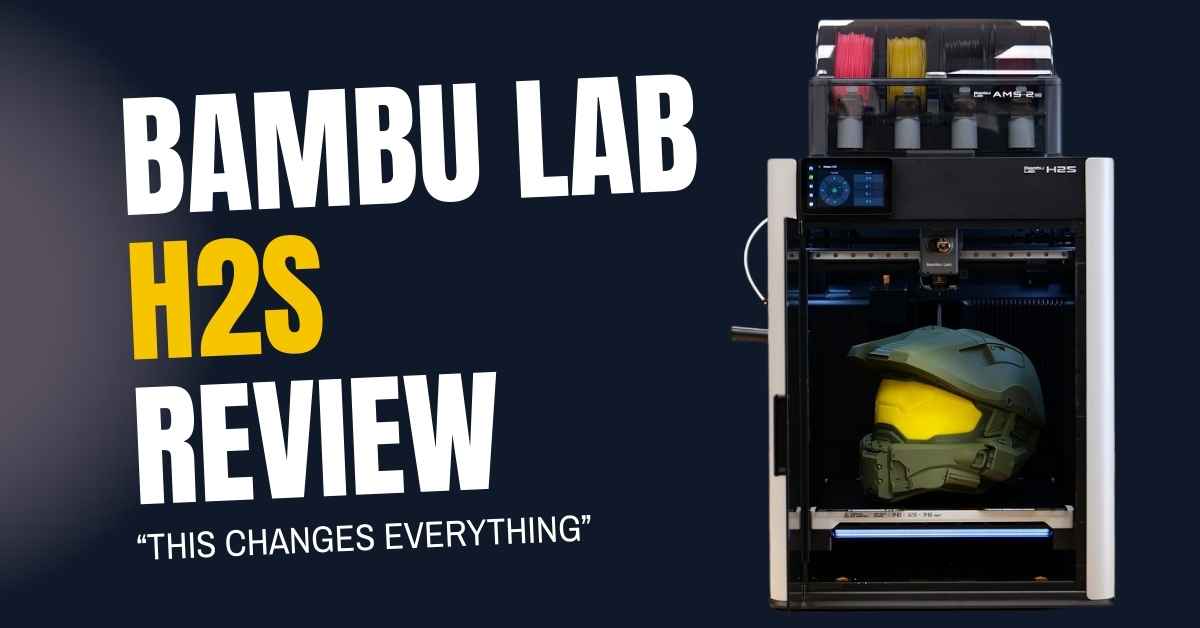
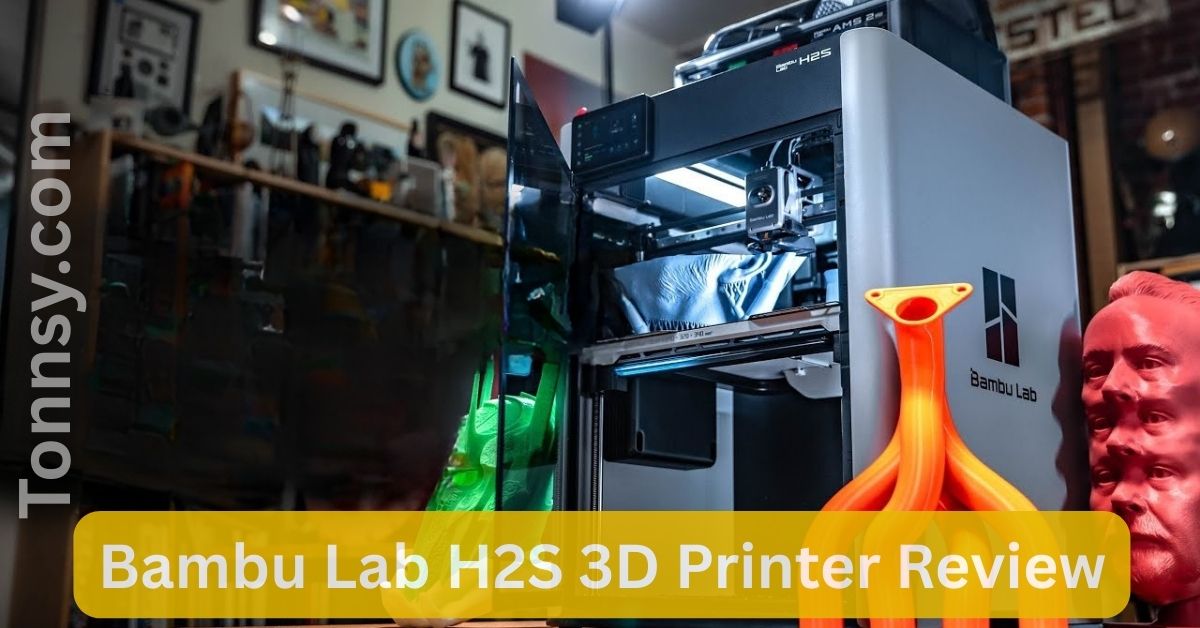
Also See – Bambu Lab H2S 3D Printer Review


